The next page contains information on this camera.
If the image below looks like your camera,
click below to see the PDF manual.
https://www.PayPal.me/butkus
Venmo @mike-butkus-camera
<<<
IF YOU WOULD LIKE THIS OR ANY PDF FILE
PRINTED, BOUND AND MAILED TO YOU,
SEE THIS OUTSIDE COMPANY'S OFFER
>>>
Click here for main Camera Manual site
Problems
opening PDF files or printing problems
- click here
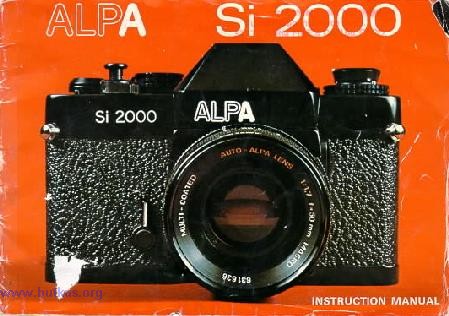
Alpa Si 2000 PDF manual
- direct from manual -
- Pentax thread mount -
- Si 3000 was Pentax K -
CLICK HERE TO CONTINUE TO
Alpa
SI 2000 HTML MANUAL
Alpa Si 2000 / Alpa Si 3000
PDF VERSION OF THIS
HTML MANUAL
|
With the introduction of the Alpa model 11si, the CdS-cells (cadmium-sulphide) that had been used since
model 9d were replaced by Si-cells (silicon). The Pignons stand at the
Photokina '76 in Cologne presented yet another surprise to visiting
aficionados: a camera from Japan bearing the label: ALPA Si 2000.
-- Information taken from another web site --
|