and historical purposes, all rights reserved.
This page is copyright© by
This page may not be sold or distributed without
the expressed permission of the producer.
I have no connection with any camera company.
If you find this manual useful,
how about a
donation of $3 to:
M. Butkus, 29 Lake Ave.,
High Bridge, NJ 08829-1701
and send your e-mail address
so I can thank you.
Most other
places would charge
you $7.50 for a electronic copy
or $18.00 for a hard
to read Xerox copy.
buy new manuals, and pay their shipping costs.
It'll make you feel better, won't it ?
If you use Pay Pal, use the link below.
Back to main Chinon/Ricoh manuals page
CLICK HERE
FOR CHINON PW-540 PDF MANUAL
MADE FROM THIS HTML FILE
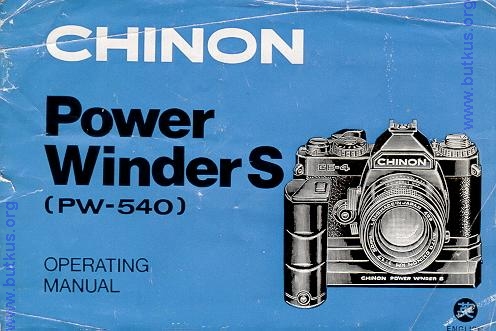
Dear CHINON Customer:
Congratulations! You have just purchased the world's most advanced and sophisticated 35mm Power Winder designed exclusively for CHINON compact SLR cameras.
This remarkable accessory, in application, will open up new horizons of creative photography for you. Every aspect of sequential motorized is now a reality due to the revolutionary concept of utilizing electronic minaturization.
This remarkable winder represents the culmination of years of extensive research and development from the world's finest engineers. To derive the utmost performance from your CHINON Power Winder, we recommend that you study this booklet carefully.
We wish you many enjoyable and productive photographic experiences with your
CHINON equipment.
SPECIFICATIONS
Camera
CHINON CE-4
Winding Speed
Approx. 0.5 sec.
Shutter Speed Range
CHINON CE-4
Single 8 -1/1000 sec.
Continuous 1/2 -1/1000 sec.
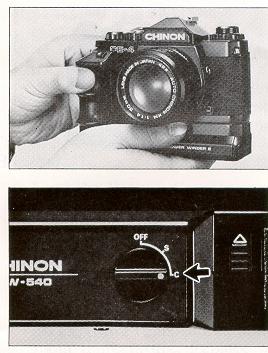
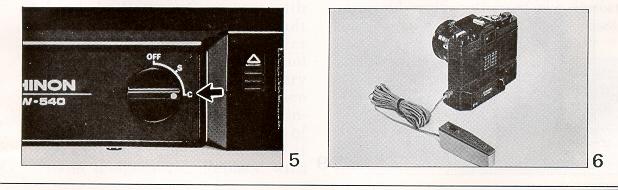
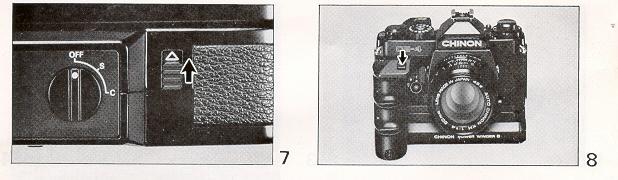
C/S DIAL
Power Source - OFF
Single Frame - S ; Continuous - C
Power Source
6V 4 AA (Penlite) Alkaline Batteries (By one touch detachable battery
container)
Indication Lamp
Red Indicator Lamp for "S" and "C"
Battery Life (Number of films)
Minimum 20 cartridges (36 Exposure) at Room Temperature
Newer type
batteries may increase longevity
Shutter Release
Activated with Camera Shutter
Release Button or Winder Shutter
Release Button
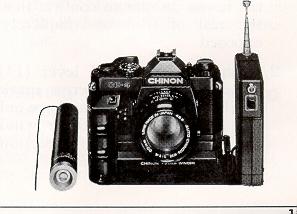
Remote Control
2.5 mm Mini-Jack, Remote-Control
Accessory Switch is available
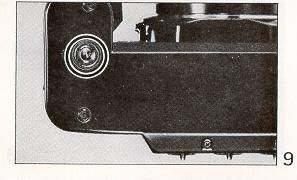
Attach to the Camera
Screw-in to the tripod socket in the camera with guide
pin channel
Others
Action Lamp (Red LED)
Computerized Auto-Stop device when the film is finished
Size
136.0 (L) X 88.5 (H) X 76.0 (W) mm
Weight
230 g.
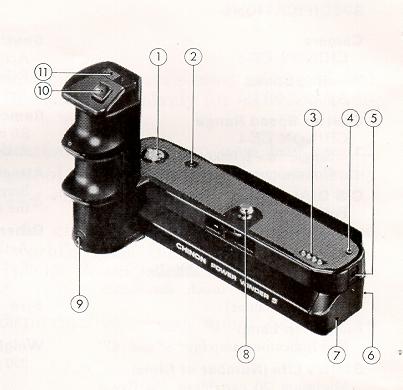
NOMENCLATURE
|
1. Film Winder Coupler 2. Rewinding Pin 3. Electrical Pin Connectors 4. Guide Pin 5. Remote Control Socket 6. Battery Container Detachable Button |
 |
|
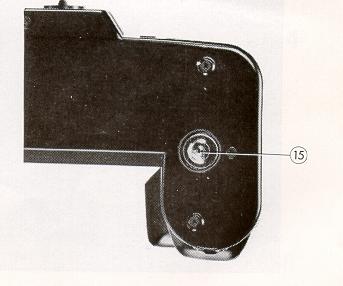
7. Battery Container S. Attachment Screw 9. Action Lamp 10. Shutter Release Button 11. Shutter Release Lock |
 |
|
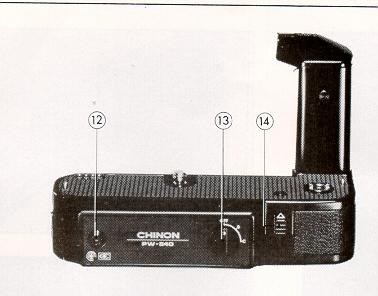
12. C / S Indicator Lamp 13. C / S Dial 14. Rewind Lever
|
 |
INSTALLING THE BATTERIES
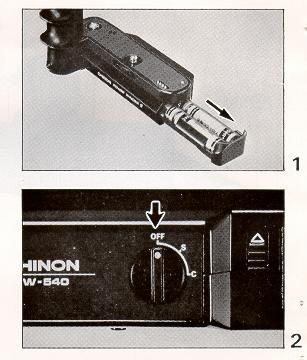
If the motor stops during the film transport, it indicates that the batteries have insufficient power to drive the motor. Immediately, replace the batteries with a fresh set.