The next page contains information on this camera.
If
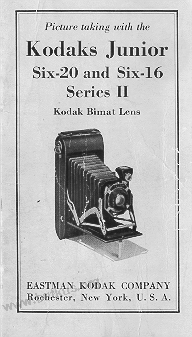
the image below looks like your camera,
click below to see the PDF manual.
The next page also contains information
on how to donate to this site.
www.PayPal.me/butkus
Venmo @mike-butkus-camera
<<< IF YOU WOULD LIKE THIS OR ANY PDF FILE
PRINTED, BOUND AND MAILED TO YOU,
SEE THIS OUTSIDE COMPANY'S OFFER >>>
Click
here for Camera Manual site
CLICK HERE TO CONTINUE TO
Kodak Junior Six-20 and Six-16
HTML MANUAL
Click here to go to
Kodak Six-20 and Six-16 Series II camera
PDF version
better printing
There are ways to use 120 film in these cameras.. check
the web.