www.PayPal.me/butkus
Venmo @mike-butkus-camera
Ph 2083
<<<
IF YOU WOULD LIKE THIS OR ANY PDF FILE
PRINTED, BOUND AND MAILED TO YOU,
SEE THIS OUTSIDE COMPANY'S OFFER >>>
Problems
opening PDF files or printing problems
- click here
CLICK HERE TO CONTINUE TO
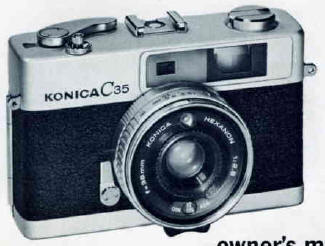
Konica c35 HTML MANUAL
Click here for
Konica C35 Automatic PDF
version made from HTML - better printing
CLICK HERE FOR
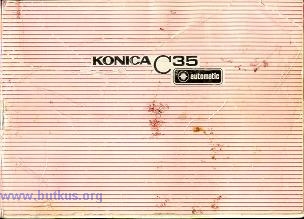
Konica c35
COLOR PDF SCAN
- English only -
Konica C35 -
English
Konica C35 Bedienungsanleitung
Konica C35 Mode D'Emploi
Konica
C35 Manual de Instrucciones