If you find this manual useful,
how about a donation
of $3 to:
M. Butkus, 29 Lake Ave.,
High Bridge, NJ 08829-1701
and send your e-mail
address
so I can thank you.
Most other places would charge
you
$7.50 for a electronic copy
or $18.00 for a hard to read Xerox copy.
This will help me to continue to host this site,
buy new manuals, and pay their shipping costs.
It'll make you feel better, won't it ?
If you use PayPal.. use the link below
Venmo is @mike-butkus-camera Ph 2083
buy new manuals, and pay their shipping costs.
It'll make you feel better, won't it ?
If you use PayPal.. use the link below
Venmo is @mike-butkus-camera Ph 2083
Click here for Camera Manual site
CLICK HERE TO CONTINUE TO
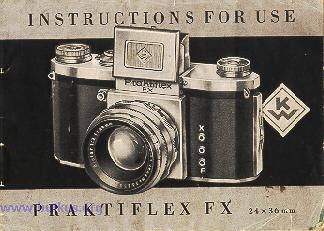
Praktiflex HTML
MANUAL
Click here for Praktiflex FX flier
in PDF format
Prakticaflex FX Bedienungsanleitung
Translate via Google
Click here for FX flier in PDF format