Cosmorex-SE
The next page contains information on this camera.
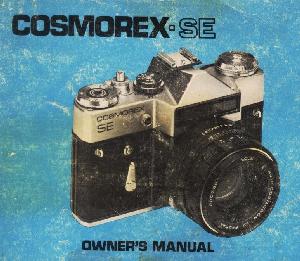
If the
image below looks like your camera,
click below to see the PDF manual.
The next page also contains information on how to donate to this site.
www.PayPal.me/butkus
Venmo @mike-butkus-camera Ph. 2083