CLICK HERE TO CONTINUE TO
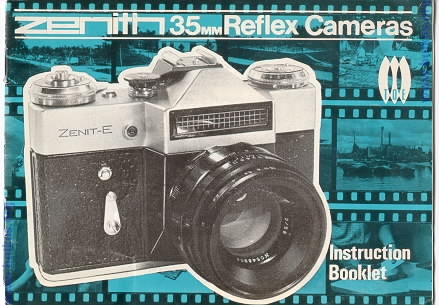
Zenith E
HTML MANUAL
Click here to Zenith E PDF
version made from above link
Zenit - E mode d'emploi
De L'Appareil Photographique Zenit-E
Zenth E istruzioni per l'uso PDF
De L'Appareil Photographique Zenit-E
Zenith E руководство по эксплуатации
Russian
AKA: Reviewflex E