
Saturn Rear Wing
April '04
I purchased a wing to a Saturn Vue through E-bay
from www()spoilerdepot()com.
at $149 and $26 shipping and insurance. Way less then the $250+ from other
sites This came painted, you can choose
the original Saturn colors. The package came in a week in a thick box and
foam padding. A "universal" installation paper came with it. No
photos on the instructions. Nothing specific to the Saturn or Vue.
This is for information only.
If you damage your car or another car by using these instructions don't blame
me. This installation requires to make two holes in your car!
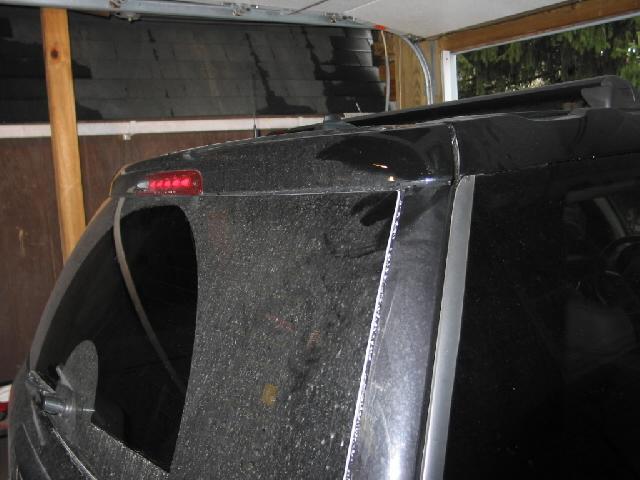
The left image is the VUE ready for testing. First, as I said there were
general information installation instructions included. I followed the
instructions on caring for the wing once I took off the foam covering. The
first thing you have to do is locate where the two (yes there is only two)
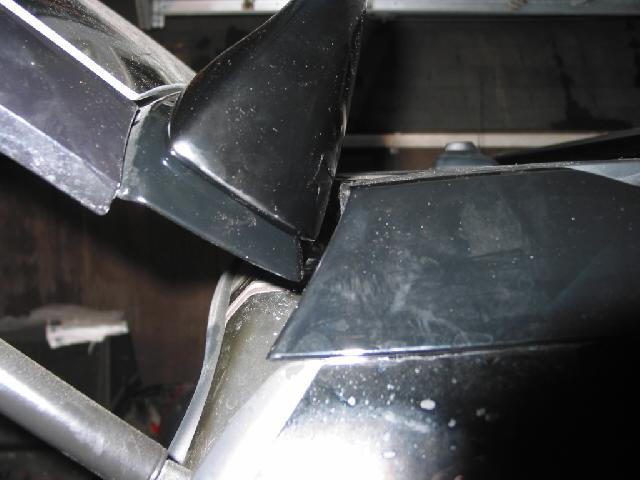
screws go that will go THROUGH the rear latch. In the left photo below you
must put the two "set screws" with the pointed side out. As in
the photo below right, you see they stick out just a bit. This will mark (SCRATCH)
your painted surface. Two things to note. My wing fit perfectly and
nestled on the back. No wiggle or shifting. The wing came with
rubber bumpers and foam striping. Never used any as I could see no reason
too. Now check that the wing sits high enough to open the hatch all
the way.
|
|
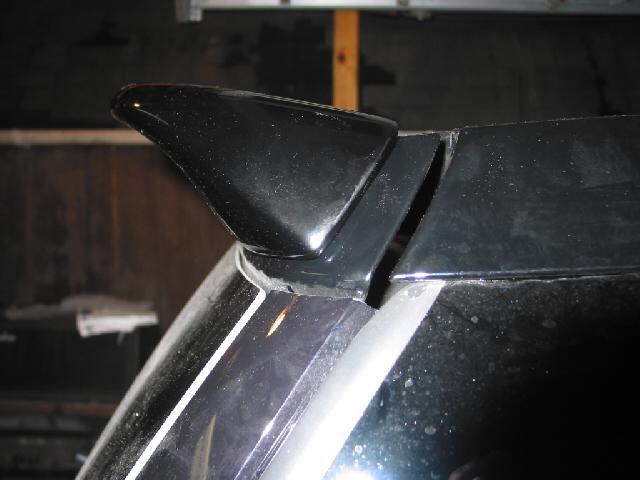
|
The thread mounts should be aligned with the roof. As you see in the left bottom photo the scratch (drilled and marked with red nail polish) matches the edge of the roof. I was off by only 1/16 an inch. After you make the two marks (and you check and recheck the measurements on the hatch) you drill into your car. The hatch at that point is double thick and you will drill down from the top into the second layer. Drill straight down. After drilling clean the hole and use nail polish on both holes. An old trick to prevent rust. Pre test the holes by unscrewing those "set screws" just a bit and the holes should match. The wing should be sturdy and level. Now is the time to make adjustments. When you are sure it's time to bolt on. Time to try the bolts supplied.... NOPE.. wrong size. You need a 1" stainless screw to go through the double sheet metal hatch. No longer, it will punch through the wing's top. Off to the the store. Now that you have stainless screws (don't want these babies rusting) you can test the installation. . Again check that the wing sits high enough to open the hatch all the way. Screw in the screws just so tight... check the wing with the hatch closed and see if it's sitting snug..
 |
|
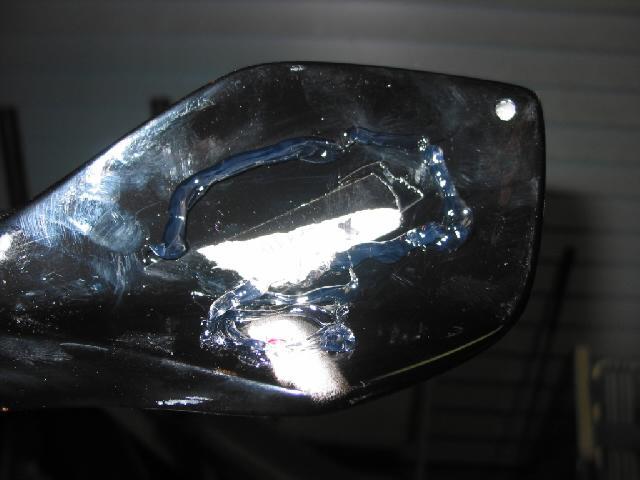
After testing, I put on silicon glue to the ends (see bottom right). Two small screws may not hold this wing at 75 + mph. The silicon glue will stick to anything. I put some completely around the two screws (prevent water reaching the screws and then around the contact area. The secondary holes (white dots) in the wing must be for ventilation. I didn't touch them. I put on the wing with the hatch open. With just one person, that held the wing in place and made sure it screwed in right. Since I tested everything first, the final assemble went fine.
|
|
 |
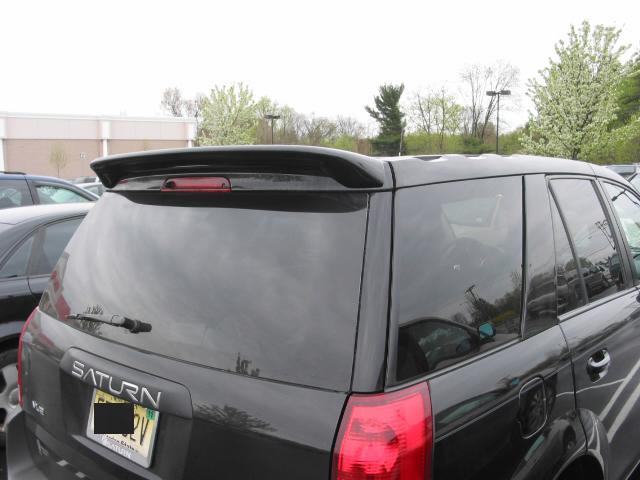
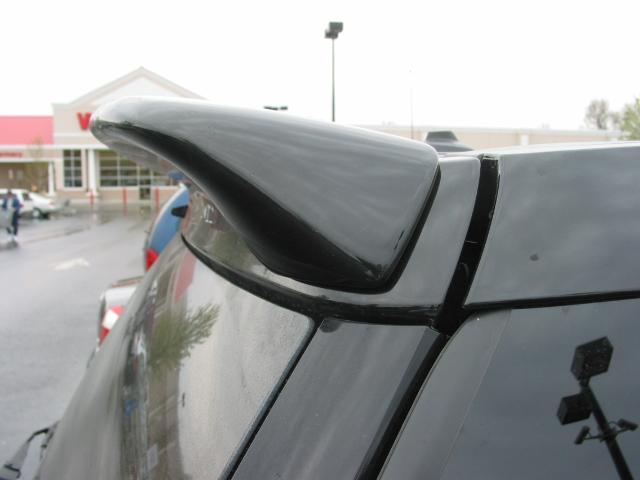
These are the shots of the wing installed. In this shot I see a difference in color. Will check that out when the sun comes out. This was done with a flash unit at close range. In the sunlight I cannot see any difference.
 |
 |
