Canon Pellix QL
The QL model is a year later
then the standard model.
It stands for for Quick Load
Camera Manual
posted 4-28-'03
The next page contains information on this camera.
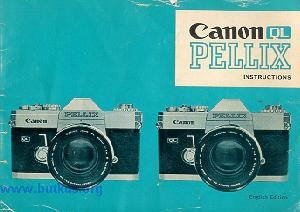
If the image below looks like your camera,
click below to see the PDF manual.
The next page also contains information
on how to donate to this site.

|
Outside Link |
|
Outside Link |

Canon QP Pellix PDF version
of this manual - better printing