Exakta RTL1000
Camera Manual
posted 12-8-'02
The next page contains information on this
camera.
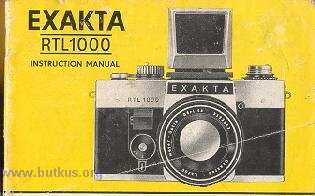
If the image below looks like your camera,
click below to see the PDF manual.
The next page also contains information
on how to donate
to this site.
www.PayPal.me/butkus
Venmo @mike-butkus-camera
Click here for Camera Manual site
CLICK HERE TO CONTINUE TO
Exakta RTL 1000 HTML MANUAL
CLICK HERE TO CONTINUE TO
Exakta RTL 1000 PDF
MANUAL MADE FROM HTML PAGE
CLICK HERE TO GO TO PDF MADE
Exakta RTL 1000 DIRECT FROM MANUAL
Exakta RTL 1000 TTL - Penta Prism
Exakta RTL1000 Bedienungsanleitung
