Back to main Camera Manual menu
Fujica Half Auto Electric Eye PDF- made direct from manual -
CLICK HERE TO CONTINUE TO FUJICA HALF PDF made from HTML page
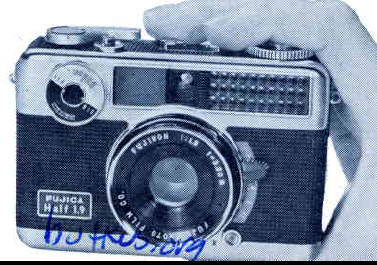
CLICK HERE FOR FUJICA HALF 1.9