The next page contains
information on this camera.
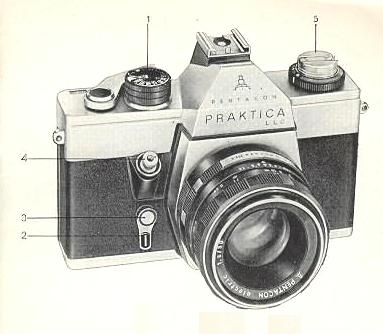
If the image below looks like your camera,
click below
to see the PDF manual.
The next page also contains information
on how
to donate to this site.
www.PayPal.me/butkus
Venmo @mike-butkus-camera Ph. 2083
Click here for Camera Manual site
Click here for PDF printing suggestions
CLICK
HERE TO CONTINUE TO
Praktica LLC HTML MANUAL
CLICK HERE FOR A PRAKTICA LLC PDF
SCANNED DIRECTLY FROM THE MANUAL
Click here for Praktica LLC PDF version
directly from the manual
- 2
pages per scan
CLICK HERE FOR Praktica LLC
PDF VERSION from the HTML PAGE
Praktica LLC Bedienungsanleitung