Back to main camera manual page
CLICK HERE TO CONTINUE TO
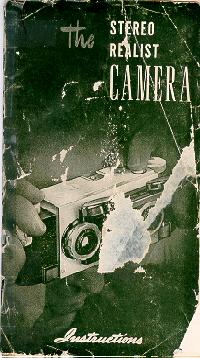
Stereo Realist HTML MANUAL
CLICK HERE FOR A
Stereo Realist guide PDF
VERSION FROM THIS HTML PAGE
CLICK HERE FOR A Word Document
VERSION FROM THIS PAGE
Stereo-Realist PDF MADE
DIRECTLY FROM A MANUAL
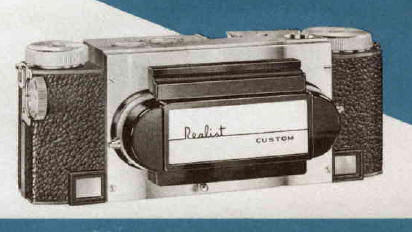
Stereo-Realist 1050 Instructions
Updated 1980 film loading as
Kodak
reduced the length of the film lead
Another Realist Stereo in a PDF file